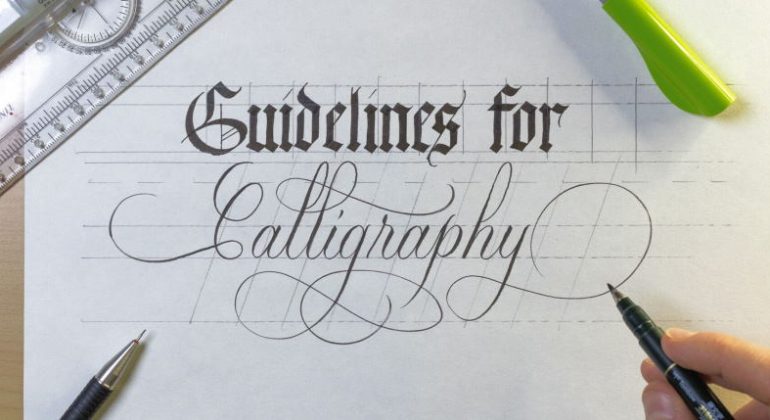
Calligraphy is an art form that has been around for centuries, and there are many ways to approach it. This easy tutorial will teach you how to create beautiful calligraffiti using a few simple techniques. You can use this style of lettering to add personality to any project, and it’s a great way to show off your skills! So get ready to learn how to create some amazing calligraffiti works of art!
Learn basic calligraffiti technique
In this easy calligraphy tutorial, we’ll show you how to create beautiful calligraffiti using a simple step-by-step method. With just a few supplies and some practice, you’ll be able to produce stunning calligraphy pieces in no time!
What You’ll Need:
- A pen or pencil
- Paper
- A calligraphy nib (optional)
Step 1: Choose Your Calligraphy Nib
If you’re new to calligraphy, we recommend starting with a felt tip pen or a pencil. This will allow you to get a feel for the strokes and shapes before moving on to a more traditional calligraphy nib. Once you’ve chosen your tool, it’s time to start practicing!
Step 2: Make Basic Strokes
The first step is to get familiar with the basic strokes. Start by making a few downward strokes, then some upward strokes. Next, try making curved lines and loops. Practice these strokes until you feel comfortable making them.
Step 3: Write Your Name in Calligraphy
Now that you’ve mastered the basic strokes, it’s time to write your name in calligraphy! Start by writing down your name in block letters. Then, use the basic strokes to add embellishments and flourishes. Finally, experiment with different lettering styles until you find one you like.
Step 4: Write a Quote or Poem in Calligraphy
Now that you know how to write in calligraphy try writing a quote or poem. Start by finding a quote or poem that you like. Then, use the basic strokes to write it out in calligraphy. Remember to take your time and practice each letter until you’re happy with the results.
There you have it! With this easy calligraphy tutorial, you’ll be able to create beautiful calligraffiti pieces in no time. So grab some supplies and start practicing!

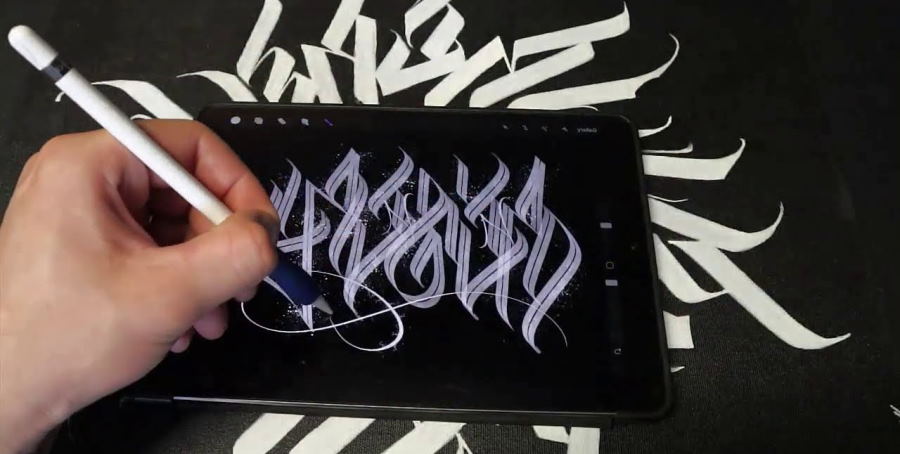
How to create a calligraffiti piece in Adobe Photoshop
In this tutorial, we will be creating a calligraffiti piece using the Adobe Photoshop program. Calligraffiti is a form of street art that combines calligraphy and graffiti. This type of artwork can be seen in many public places and is often used to convey messages or show support for certain causes.
To create our calligraffiti piece, we first need to find an image to work with. For this tutorial, we will use an image of a wall with graffiti. Once you have found an image, open it up in Photoshop.
Next, we need to create a new layer above the background layer. To do this, click on the “Layer” menu and then select “New Layer.”
Now that we have our new layer, we can begin adding our calligraphy. To do this, select the “Brush Tool” from the toolbar. Then, choose a brush size and color that you like. Once your brush is selected, begin writing out your words on the new layer. Feel free to experiment with different fonts and styles of calligraphy.
Once you are happy with your calligraphy, we need to add some graffiti onto our wall. To do this, select the “Graffiti Tool” from the toolbar. Then, choose a color and spray away! Be sure to vary up the colors and sizes of your graffiti for a more interesting piece.
Congratulations! You have successfully created a calligraffiti piece using Adobe Photoshop.